How to Secure your REST API using JWT
Swapnil Sharma / April 19, 2020
5 min read
You’ve probably heard that JSON Web Token (JWT) is the current state-of-the-art technology for securing APIs.
So if you’re planning to use it, it’s important to understand how it works. This is a guide that will help you from “Understanding what JWT is” to “Practically implementing it” in your next project.
What is API Authentication?
API Authentication is the process authenticating the users who try to access your private API calls before making data available to them directly.
This can be achieved using JSON Web Tokens. A unique token is assigned to each user, when the user logs in, this is token to provided to the server to authenticate the user, every time the user tries to make a call to a private route.
Instead of an API, imagine you’re checking into a hotel. The “token” is the plastic hotel security card that you get that allows you to access your room, the hotel facilities, but not anyone else’s room.
When you check out of the hotel, you give the card back. This is analogous to logging out.
What is the JSON Web Token structure?
JSON Web Tokens consist of three parts separated by dots (.), which are:
- Header
- Payload
- Signature
Therefore, a JWT typically looks like the following.
xxxxx.yyyyy.zzzzz
Let’s see each part separately:
Header
The header consists of two parts:
- The type of the token, which is JWT
- The signing algorithm being used, such as HMAC SHA256 or RSA.
For example:
{
  "alg": "HS256",
  "typ": "JWT"
}
Then, this JSON is Base64Url encoded to form the first part of the JWT.
Payload
Payload can contain whatever data you like, but you might only include userId as it is only for API authentication. The data in payload is also encoded in Base64Url. The payload is not secure, anyone can decode it, and this is the reason we do not store any sensitive information of user like email or password.
Signature
To create the signature part you have to take the encoded header, the encoded payload, a secret, the algorithm specified in the header, and sign that.
For example, if you want to use the HMAC SHA256 algorithm, the signature will be created in the following way:
HMACSHA256(
  base64UrlEncode(header) + "." +
  base64UrlEncode(payload),
  secret)
The signature is used to verify the message wasn’t changed along the way, and, in the case of tokens signed with a private key, it can also verify that whether the sender of the JWT is who he says he is.
Now that we have an idea about what JWT is, let’s move to the practical side.
Practically implementing JWT
We are going to implement this with the help of a task manager application, whose code is available here.
The general flow of authenticating the user is as follows:
- A client sends username/password combination to the server
- The server validates the authentication
- If authentication is successful, the server creates a JWT token else establishes an error response
- On successful authentication, the client gets JWT token in the response body
- Client stores that token in local storage or session storage.
- From next time, the client for making any request supplies the JWT token in request headers like this. Authorization: Bearer
<jwt_token> - Server upon receiving the JWT validates it and sends the successful response else error.
And the whole authentication can be divided into two parts:
- Generating the token
- Verifying the token
Generating the token
To generate the token sign method is used.

Verifying the token
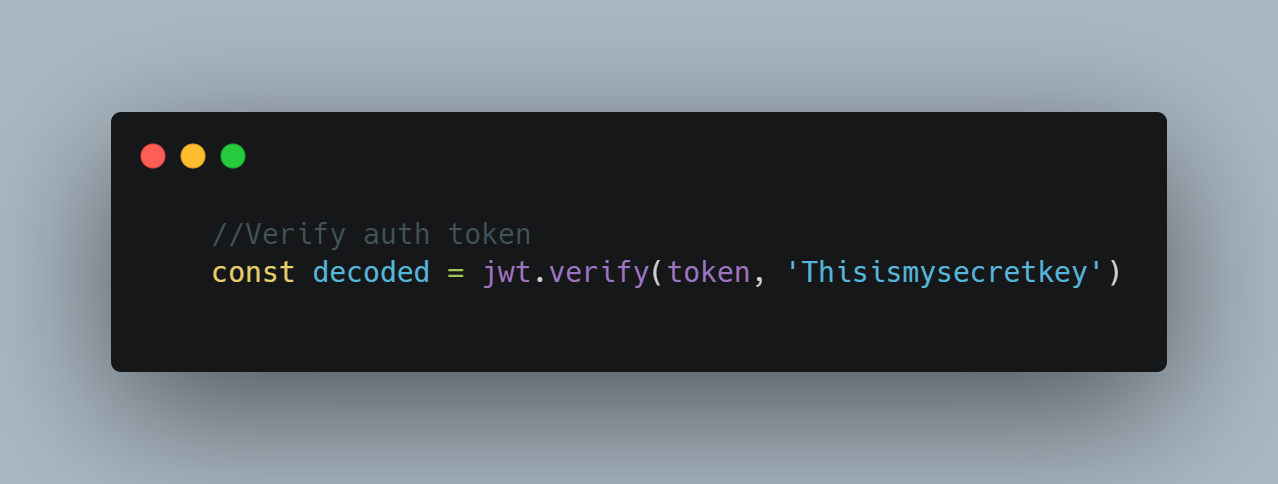
To verify the token verify method is used.

Let’s understand with the help of a Demo project:
This a task-manager-api, which uses
- express
- MongoDB
- mongoose
- jsonwebtokens
- bcrypt
- validator
All the data can be accessed by clicking here.
Logging in
Logging in is done in three steps:
- Email and password is validated, using the method findByCredentials and after successful validation.
- An authentication token (JSON Web Token) is generated and stored in the database.
- Data and token is returned.
router.post('/users/login', async (req,res) => {
    try{
        const user = await User.findByCredentials(req.body.email, req.body.password)
        const token = await user.generateAuthToken()
        res.send({user, token})
    } catch (e) {
        res.status(400).send(e)
    }
})
userSchema.statics.findByCredentials = async (email, password) => {
    const user = await User.findOne({ email })

    if(!user){
        throw new Error('Unable to login.')
    }

    const isMatch = await bcrypt.compare(password, user.password)

    if(!isMatch) {
        throw new Error('Unable to login.')
    }
    return user
}
userSchema.methods.generateAuthToken = async function () {
    const user = this

    const token = jwt.sign({ _id: user._id.toString() }, 'Thisismysecretkey')

    user.tokens = user.tokens.concat({ token })
    await user.save()

    return token
}
Authentication using Express Middleware
When a user tries to access any API resource, the following middleware code is executed first. Here, the token is received from the header and stored in a token variable. Then this token is verified using the secret key and by checking if the token is available in the respective users' database, if the token is valid then the user data is fetched and passed to the calling function.
const jwt = require('jsonwebtoken')
const User = require('../models/user')

const auth = async (req, res, next) => {
    try{
        const token = req.header('Authorization').replace('Bearer ', '')
        const decoded = jwt.verify(token, 'Thisismysecretkey')
        const user = await User.findOne({ _id: decoded._id, 'tokens.token' : token })

        if(!user){
            throw new Error()
        }

        req.token = token
        req.user = user
        next()
    }catch(e){
        res.status(401).send({ error : 'Please authenticate.' })
    }
}

module.exports = auth
Logging Out
To logout the user, we just have to delete the token from the users model.
router.post('/users/logout', auth, async (req, res) => {
    try{
        req.user.tokens = []
        await req.user.save()

        res.send()
    }catch (e) {
        res.status(500).send(e)
    }
})
This is the overview of the implementation of JWT in Node.js to see the full implementation please click here.
Subscribe to the newsletter
Get emails from me about web development, tech, and early access to new articles.